 Gohesa Medical
Gohesa Medical
Gohesa Medical
Removing medical tape should not feel like peeling a sticker from a glass surface. Human skin stretches, warms, and reacts. That difference matters, especially for older adults, infants, patients with fragile skin, and people using repeated dressings. This guide, “Top 10 Ways to Remove Medical Tape Without Hurting Skin,” explains practical methods for reducing pulling, friction, and adhesive trauma. The key phrase is “How to remove medical tape without hurting the skin,” but the safest method depends on the tape, moisture level, wound location, and skin condition.
Medical adhesive-related skin injury is not rare. A clinical consensus report by McNichol and colleagues describes MARSI as “an underrecognized complication of adhesive use.” Published wound-care reviews report injury rates varying from approximately 3.4% to 25.5%, depending on the patient group and definition used. These figures are not perfectly comparable. That limitation deserves attention. Still, they show why rushed removal can create redness, blisters, skin tears, or lingering pain. Wounds International and professional wound-care guidance also emphasize gentle removal, appropriate adhesive selection, and routine skin assessment.
Lynn McNichol, a recognized wound-care specialist and co-author of the MARSI consensus guidance, supports a prevention-focused approach: “Medical adhesive-related skin injury is an underrecognized complication of adhesive use.” Her message is practical. Do not wait for damage. Loosen the edge, support the surrounding skin, and pull slowly in the direction of hair growth. A warm compress may soften residue. An adhesive remover may help, but it should suit the patient and the dressing. Stop when the skin becomes pale, shiny, wet, or painful. Small details matter. There is no perfect technique for every patient.
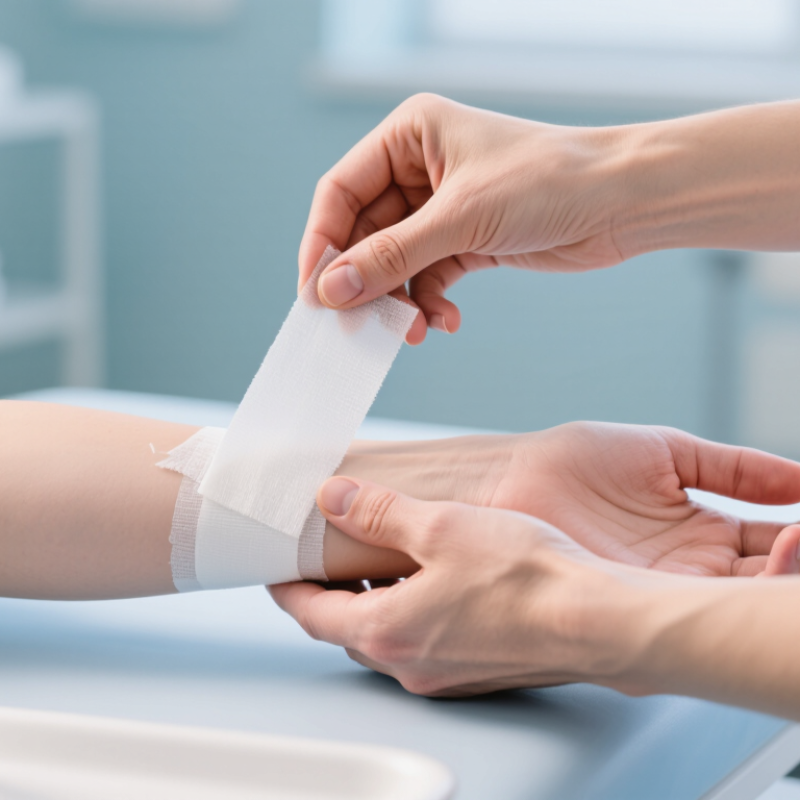
Medical adhesive-related skin injury, or MARSI, can develop after removing medical tape. Wounds UK reports that MARSI affects approximately 15–25% of patients. Risk rises with fragile, moist, dry, aged, or repeatedly exposed skin. Check the area before touching the tape. Look for redness, swelling, blisters, broken skin, or pain. Stop if the skin appears damaged. Ask a clinician for guidance when risk is high.
Wash your hands and explain each step. Keep the skin supported with one hand. Loosen one corner slowly. Use a warm, damp cloth if the adhesive feels rigid. A suitable adhesive remover may help, but follow clinical instructions. Pull the tape back over itself, not straight upward. Move slowly, keeping the strip close to the skin. Pause when the patient reports sharp pain. Remove residue gently, without scrubbing. Recheck the skin afterward and apply appropriate protection.
These ten actions sound simple, yet rushed removal remains common. That is a weakness in practice, not a patient’s fault. Children, older adults, and people with fragile skin may need extra time. Hair-bearing areas also require careful handling. Never force tape from an open wound or use unapproved solvents. If bleeding, skin tearing, or persistent pain occurs, stop and seek professional assessment. The safest method may change with each patient.
Clean your hands and explain the steps. Gather gloves, gauze, warm water, a disposal bag, and approved skin remover. Keep prescribed pain relief available. Do not use household solvents.
Look for redness, swelling, blisters, bleeding, or fragile skin. Test a small area if sensitivity is possible. Stop if the skin looks shiny, pale, or damaged. Small changes matter.
Support the nearby skin with one hand. Lift one corner slowly and keep the tape low and parallel to the skin. Peel in the direction of hair growth when possible. Move only a few centimeters at a time.
Hold a clean, warm cloth over the tape for 30 to 60 seconds. A damp cloth may soften dried residue. Do not soak a fresh incision or saturated dressing. Warmth helps.
A tiny amount of plain mineral oil may help on intact skin. Keep it away from open wounds. Use only a skin-safe remover approved by a clinician. Follow its instructions carefully.
Apply counterpressure beside the tape while peeling. Keep the skin flat and avoid pulling upward. For hairy areas, press the loose tape against itself. Older adults and children may need extra time.
Stop immediately if sharp pain, bleeding, blistering, or tearing appears. Persistent redness also needs medical advice. I sometimes pull too quickly. That mistake deserves reflection.
Contact a nurse before removing tape supporting a surgical dressing, drain, catheter, device, or fragile wound. Never pull across a fresh incision without clinical instruction. Inspect the skin afterward and report unusual changes.
How to remove medical tape without hurting the skin begins with assessing the person’s skin condition. Fragile, elderly, irritated, or previously injured skin has a higher risk of medical adhesive-related skin injury, so inspect the area before removal and prepare a calm, well-lit setting. Gather clean supplies, explain each step, and consider suitable comfort measures. To loosen the adhesive, gently apply warmth, a small amount of moisture, skin-safe oil, or an appropriate adhesive remover, allowing time for it to work.
Remove the tape slowly rather than pulling it upward. Support the surrounding skin with one hand, peel the tape back low and close to the skin, and use counterpressure or gentle stretching to reduce tension. If discomfort increases, pause and loosen the adhesive further. Afterward, clean away residue without rubbing, pat the area dry, and check the skin again within 30 minutes. Watch for redness, swelling, blistering, pain, or broken skin, and seek professional advice if symptoms persist or worsen.
